Yes, I have really neglected this blog! I had great plans and ideas but since the launch of Over The Ocean only very little time. I am also behind with my Christmas presents this year. So while searching for inspiration on Pinterest I just thought that maybe there are some more people who are like me still looking for a last minute DYI gift idea and I can show you what Milla and me made last year - great last minute blog post, isn't it!?
This craft idea is really easy, you most probably have all the ingredients in your kitchen and in front of your house, it is a fun project to do with your kids this week before Christmas and off school and at least our family and friends loved them - our handmade Christmas ornaments!
For the dough we used this simple recipe with baking soda:
1 cup of baking soda, 1/2 cup cornstarch, 3/4 cups of water
We mixed these 3 ingredients in a pot until smooth, placed the pot on a stove over medium heat and stirred constantly until it became a thick dough.
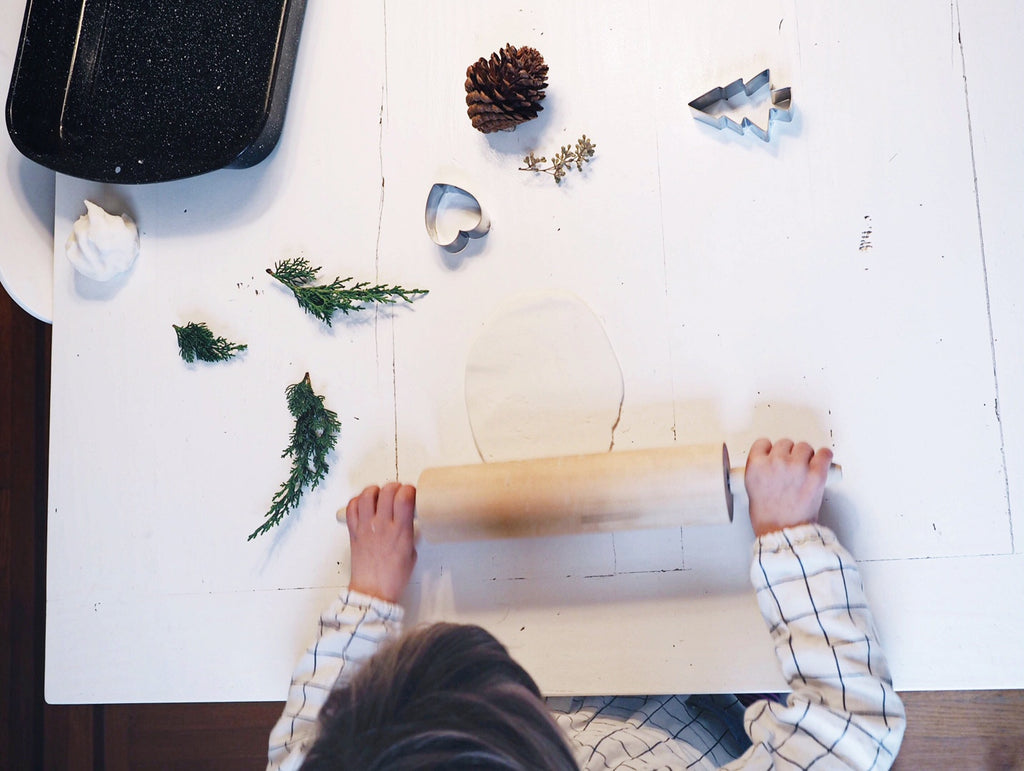
While waiting for the dough to cool down Milla and me went outside and collected some branches from needle trees and other little pieces of greenery.
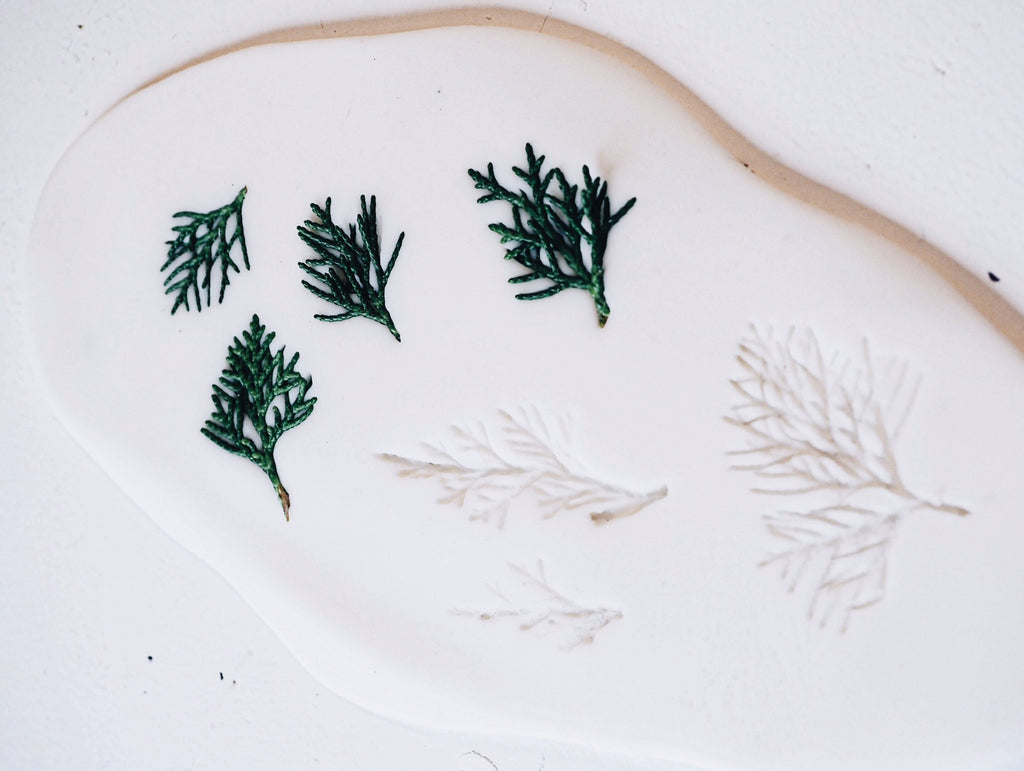
Then we kneaded the dough until smooth and rolled it out on the table. Next we placed some of our greenery on the rolled out dough and rolled over it very carefully once more. The fine branches are now like sunken into the dough and I used a toothpick to carefully get them out again. Then Milla used our cookie cutters to cut out the shape and added a little hole with the toothpick at the top for the string. Easy and fun and thanks to the pretty natural pattern you can really be creative when choosing your cutting! (Btw, first we tried it the other way around: first cutting out then stamping them with the greenery but that did not work for us.)
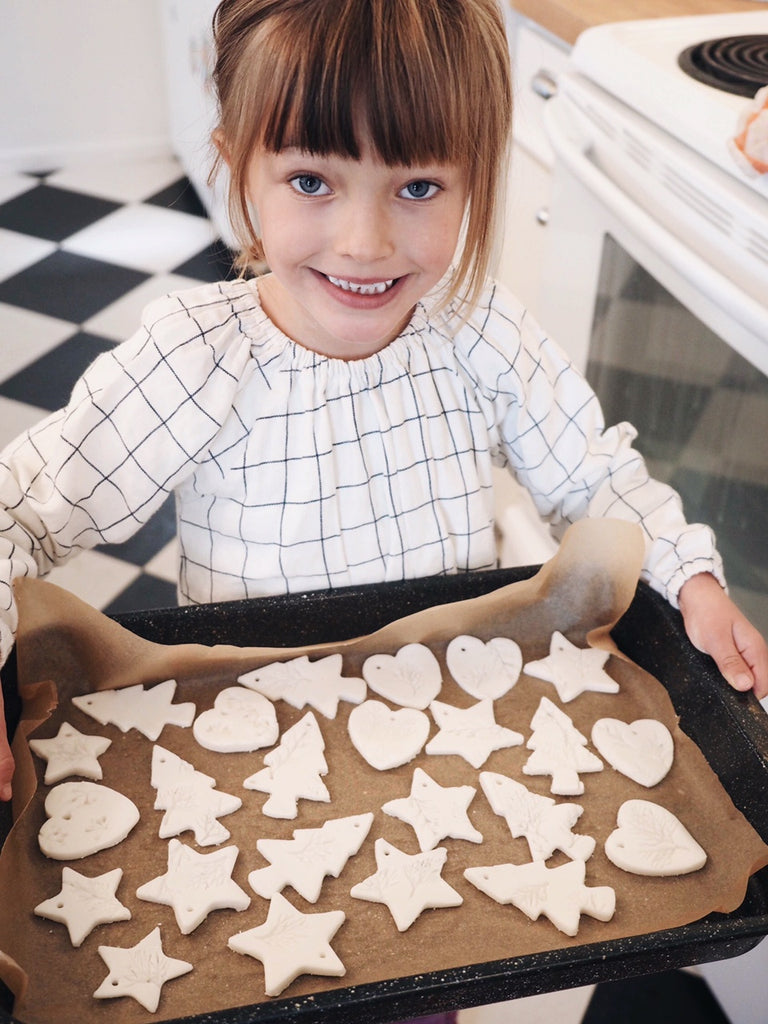
We placed them in the oven at 200°F for approximately 45 minutes. I turned them over a few times while baking.
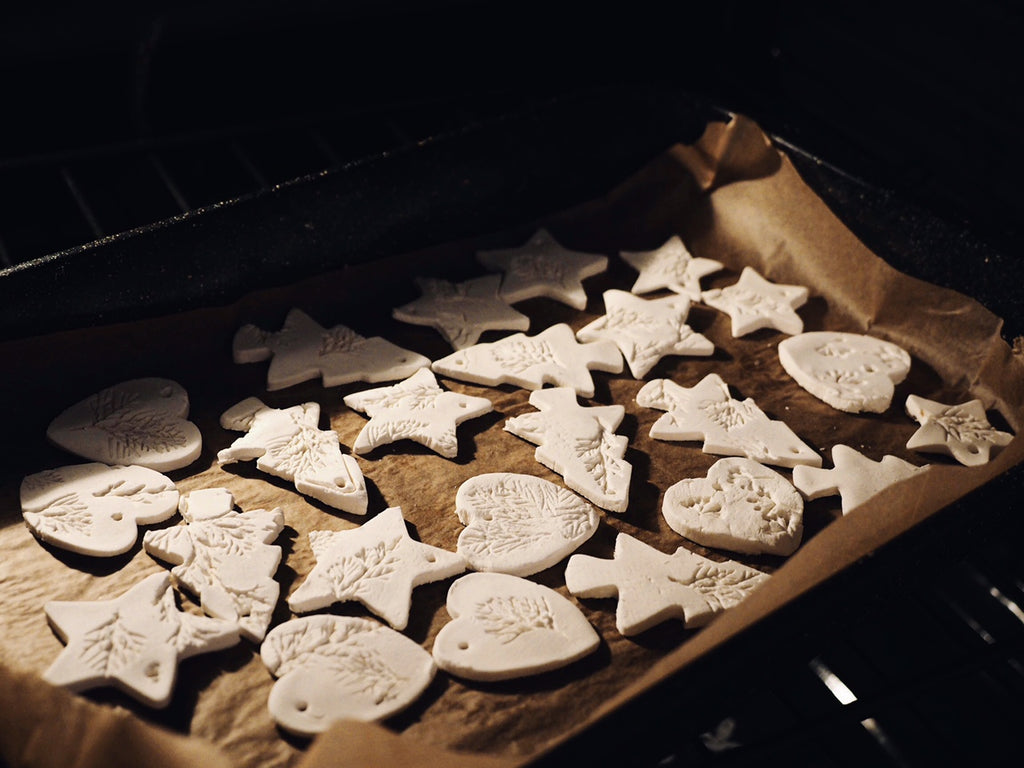
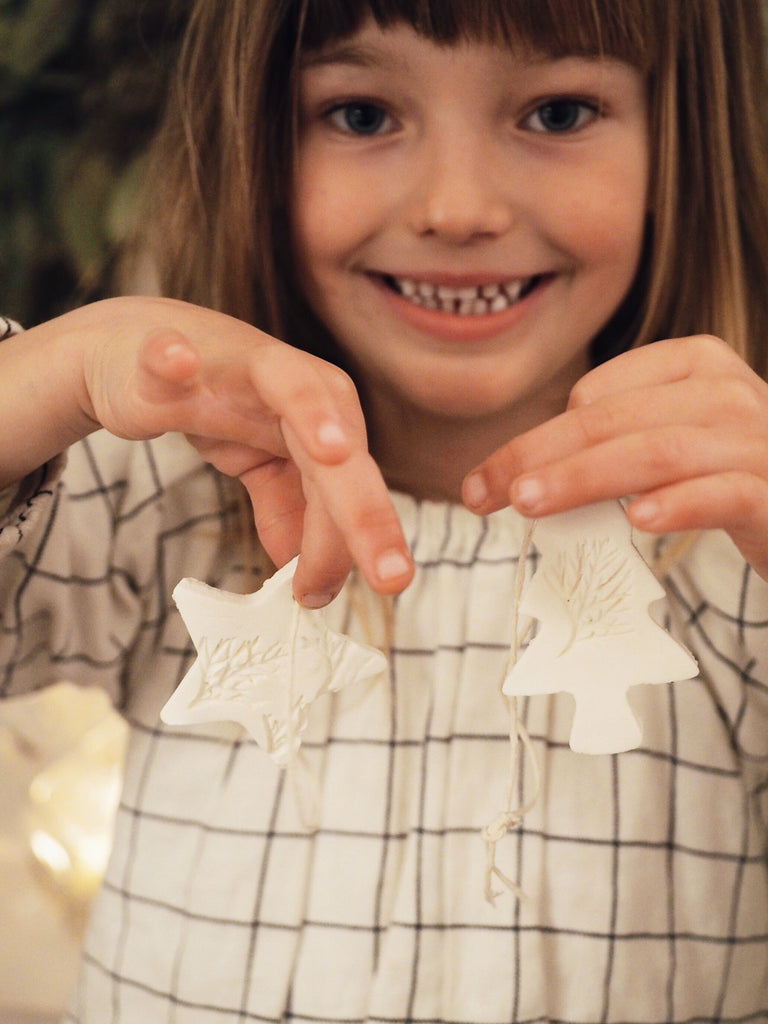
Out of the oven and with a simple string they already looked really beautiful!

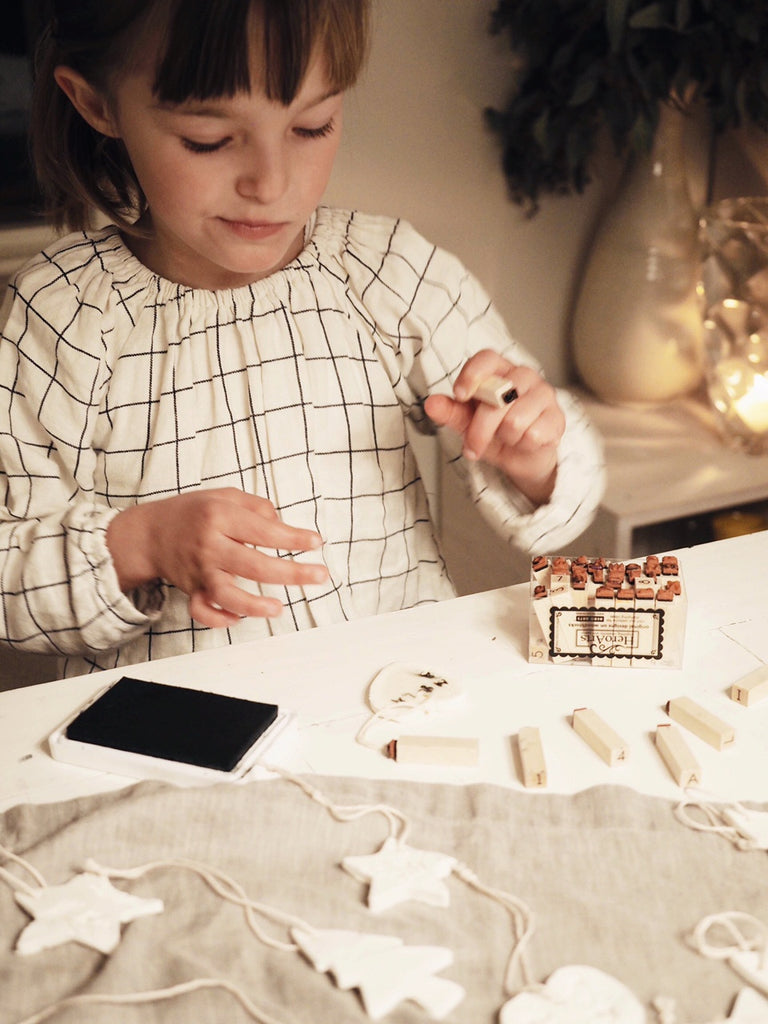
I thought it would be a nice idea to write Milla's name and the year on them. Milla did not want to write her name though (she had just started writing letters and it was still difficult for her in this small size) but with the little stamps I could convince her!

Now that we had those precious homemade ornaments we wanted to pack them really nicely. We used a small paper box and I printed out the pictures we made while crafting and glued them on the lid.
 Such a pretty box to store them in during the year. I am pretty sure that Milla's grandmothers and aunts love to get this little box out before Christmas and hang up the homemade ornaments. We'll see if I was right in a few days when we return home for Christmas...
I wish you joy- and peaceful holidays and a good start into a happy and healthy new year!
Xx,
Birgit
What a beautiful idea! I lOve the box to store them…
Arthur says “ho-ho-ho” to miLla.